As the old saying goes, 'A stitch in time saves nine.' If you've noticed cracks and potholes developing in your tar driveway, it's better to address these issues sooner rather than later. Neglecting them can turn minor repairs into major ones, costing you both time and money.
But don't worry—you're not alone. With the right materials and a bit of effort, you can fix these problems yourself. Stick around, and you'll learn how to identify driveway damage, gather the necessary materials, and perform the repairs as we guide you through each step.
Who knows, you might even find the process quite rewarding.
Identifying Driveway Damage
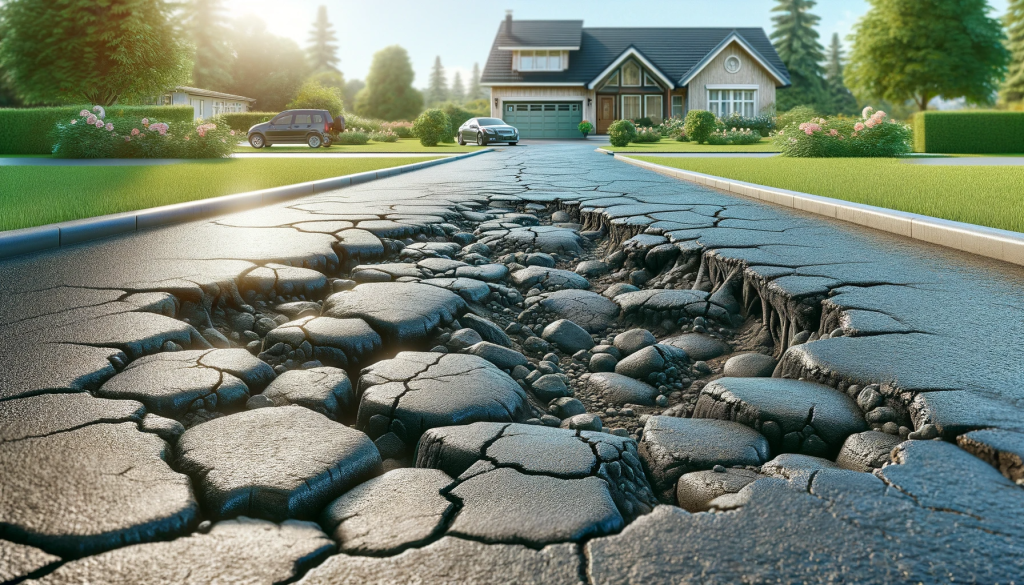
Before you can tackle any repairs, you'll need to accurately identify the damage on your tar driveway. Damage assessment is the first step in any repair process. You're not just looking for obvious issues like potholes or cracks; you're also spotting deterioration that mightn't be as apparent.
Start by taking a slow, deliberate walk across the driveway. Examine the surface closely. Are there small cracks starting to form? Can you spot any areas where the tar seems to be thinning or pitting? These are early signs of deterioration that you'll want to address before they become larger problems.
Next, test the driveway's solidity. If there are soft spots or areas that feel unstable under your weight, these could indicate a more serious issue beneath the surface.
Finally, take note of any drainage issues. Pooling water can accelerate damage to your driveway, and fixing these issues can prevent future problems.
Spotting deterioration early and accurately assessing damage are critical to maintaining your tar driveway. By taking the time to understand the state of your driveway, you'll be better prepared to tackle repairs and prolong its lifespan.
Gathering Required Materials
Once you've assessed the damage, it's essential to gather the right tools and materials for your driveway repair. Your tool selection and material costs will vary based on the extent of the damage and the size of the area you're repairing.
To start, you'll need:
- Crack filler or cold patch asphalt: This is the main material for filling cracks and potholes. Your material costs will depend on the amount you need, which is determined by the size and depth of the damage.
- A trowel or putty knife: You'll use this to apply the filler material into the cracks or holes.
- A broom or blower: This is to ensure the repair area is clean before you start the repair process.
- A tamper or plate compactor: This is to compact the filler material in the hole or crack, ensuring a smooth, level repair.
Repairing Driveway Cracks
After gathering your tools, it's time to get cracking on repairing those driveway cracks. The first step is to clean the cracks thoroughly. Use a broom or a blower to remove dirt and debris, ensuring a clean surface for the repair materials to adhere to.
Next, you'll need a high-quality crack filler. There are many on the market, but for eco-friendly repair solutions, look for ones that are solvent-free and low VOC. Apply the filler into the crack, making sure to overfill slightly. This allows for the material to settle and compact, ensuring a smooth and level repair.
Once the filler is dry, seal the entire driveway. This step is crucial, as it helps to protect your driveway from further damage. It's also one of the most effective crack prevention methods. A good quality sealer not only fills any small cracks that might've been missed, but it also provides a protective layer against water, oil, and UV damage.
Fixing Potholes in the Driveway
Now let's tackle those pesky potholes that have been wreaking havoc on your driveway. Remember, preventive measures can save you a lot of time and money in the long run. But for now, let's focus on the repair. Here's a step-by-step guide:
- Clean the Pothole: First, remove any debris or loose stones in the pothole. You want a clean surface for the new material to adhere to.
- Apply Cold Asphalt: Next, fill up the pothole with cold asphalt. This is a great asphalt alternative that's easy to use and effective.
- Compact the Asphalt: Using a tamper, compact the asphalt firmly. This helps to ensure that it's level with the rest of the driveway and will last for a long time.
- Seal the Area: Finally, apply a driveway sealer over the repaired pothole. This helps protect the new asphalt and keeps it looking fresh.
Now you know how to fix a pothole! Remember, regular maintenance and preventive measures are key to keeping your driveway in good condition. If you're dealing with numerous or extensive potholes, it might be time to consider a full driveway overhaul with asphalt alternatives.
Proper Post-repair Maintenance
To keep your driveway looking its best, it's crucial to properly maintain it even after the repairs are done. Neglecting post-repair maintenance can lead to the same problems recurring, wasting your time, effort, and money.
One key step in this maintenance process is sealant application. Applying a sealant is like giving your driveway a protective layer. It shields the tar surface from the harmful effects of the weather, the sun's UV rays, and even chemical spills. You'll want to apply the sealant evenly across your entire driveway, making sure not to miss any spots. This task isn't hard, but requires patience and attention to detail. It's typically recommended to reapply sealant every two to three years, but this can vary based on your specific climate and usage.
In addition to sealant application, regular inspections are also crucial. You should routinely check your driveway for any signs of wear and tear. Look for cracks, holes, or discoloration. Early detection of these problems can save you from more complicated and costly repairs down the line. After all, it's easier to fix a small crack than a large pothole.
Regular maintenance is the key to a long-lasting, good-looking driveway.
Frequently Asked Questions
What Are the Potential Causes of Cracks and Potholes in a Tar Driveway?
Weather changes, poor installation, and inadequate drainage are often the culprits behind your driveway's cracks and potholes. These underlying issues, if ignored, can disrupt your driveway's maintenance and lead to costly repairs.
How Can I Prevent Cracks and Potholes From Occurring in My Tar Driveway?
To prevent cracks and potholes in your tar driveway, consider driveway sealcoating. It's beneficial as it provides a protective layer. Explore resurfacing options too, they'll help maintain the driveway's integrity.
How Long Does It Typically Take for Repaired Cracks and Potholes to Fully Set and Cure?
Usually, the curing process takes 24-48 hours, but it's not guaranteed. Factors like weather and driveway usage impact the timeline. You'll need to monitor and adjust your expectations based on these variables.
Can I Repair a Tar Driveway in Any Weather, or Are There Ideal Conditions for This Process?
Weather impact greatly affects your tar driveway repair timing. It's best to fix it in warm, dry conditions. Rain or cold can hinder the repair process, so always check the forecast first.
Are There Any Environmental Concerns Related to Repairing a Tar Driveway?
Yes, there are environmental concerns. You'll need to ensure compliance with environmental regulations. It's also beneficial to use sustainable repair materials to minimize your impact on the environment.